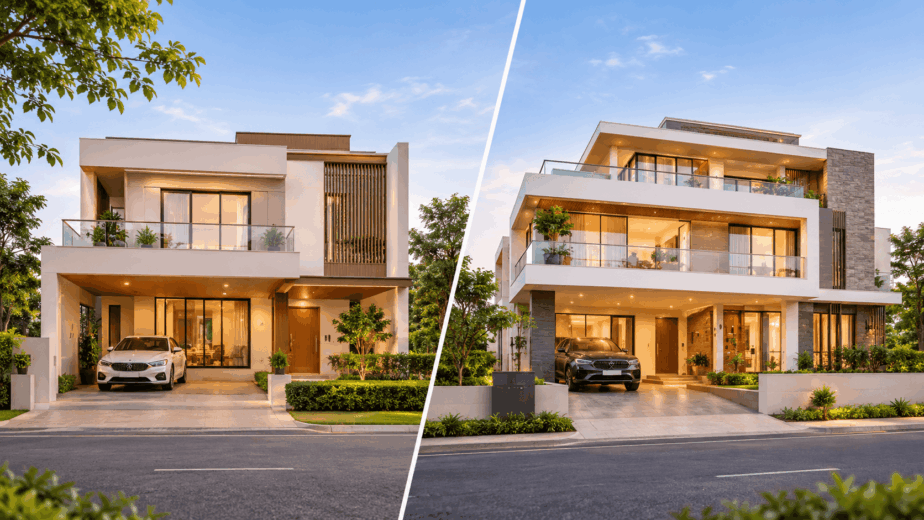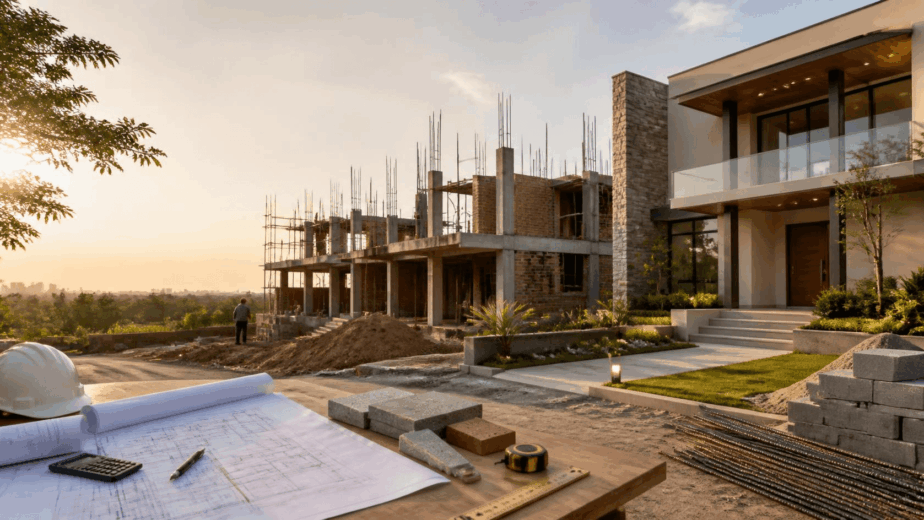
Building a villa is an investment. From selecting the plot to completing the interiors, every stage requires careful planning and coordination. Understanding the villa construction process helps you make decisions, manage your budget and prepare for what lies ahead.
In Bangalore, factors such as soil conditions, building approvals, weather, material availability and design choices can influence the construction schedule. Knowing what happens at each stage makes it easier to plan your project and work with the professionals.
This guide explains the villa construction process step by step, including the planning, building, construction finishing and handover stages.
1. Define Your Villa Requirements
Before construction begins, decide what you want from your villa. Think about your family’s needs, future plans, preferred design and available budget.
Consider the number of bedrooms, bathrooms, floors, parking spaces, balconies and outdoor areas you need. You should also decide whether you want a home office, a kitchen, a private garden or dedicated entertainment spaces.
These decisions help the architect understand your expectations and prepare a design. A clear brief also reduces the chances of making changes after construction starts.
At this stage, discuss your priorities with your architect and construction team. Separate essential features from upgrades so you can make better decisions if the budget needs adjustment.
2. Choose and Evaluate the Plot
The plot plays a role in determining the design, feasibility and cost of villa construction in Bangalore.
Before finalising a property, check its dimensions, access road, surrounding development, drainage and availability of utilities. Review the property’s ownership documents. Verify whether residential construction is permitted under the applicable rules.
The shape and slope of the land can also affect the building layout. A sloping plot, for example, may require retaining walls, drainage work or a different foundation approach.
A soil investigation is equally important. It helps engineers understand the ground conditions and select a foundation system. Do not assume that a foundation used for another property will work well on your plot.
Tip: Evaluate the plot with guidance before committing to a final design. Early checks can help identify site-related costs that may otherwise affect your budget later.
3. Prepare the Architectural and Structural Designs
Once the plot and requirements are clear, the design process begins. The architect develops a floor plan that considers room sizes, circulation, natural light, ventilation, privacy and the connection between outdoor spaces.
The design should also account for the climate. Shading, window placement, roof design and ventilation can influence how comfortable the villa feels throughout the year.
Structural engineers then plan the foundation, columns, beams, slabs and other structural elements. Electrical and plumbing layouts must also be coordinated with the drawings.
Review the plans carefully before approving them. Changes made during the design stage are usually easier to manage than changes made after walls, slabs, or services have been installed.
4. Complete Building Approvals and Documentation
Before the main construction work begins, the required building plans and permissions must be obtained from the authority.
The approval process depends on the property’s location, applicable building regulations, plot characteristics and project details. Requirements may differ between properties within BBMP or other local authority limits and those in gated communities or developing areas.
Your project team should verify rules for setbacks, floor area, building height, access and other requirements. The ownership documents and approved plans should also be checked before work begins.
Allow time for this stage. Incomplete documents, design revisions or additional requirements can affect the project schedule.
Avoid starting work that requires approval before the necessary permissions are in place.
5. Prepare the Site and Build the Foundation
After the necessary preparations and approvals, work moves to the site. The team clears the construction area, marks the building layout and prepares the ground according to the approved drawings.
Foundation work follows the design and soil investigation. Depending on the site, this may involve excavation, reinforcement, footings or another suitable foundation system.
The foundation transfers the building’s load safely to the ground. Its design and execution are therefore essential to the stability of the villa.
The engineer should inspect stages before work proceeds. Concrete quality, reinforcement placement, dimensions and other structural requirements need to follow the approved design.
Good site supervision at this stage helps establish a base for the rest of the building construction process.
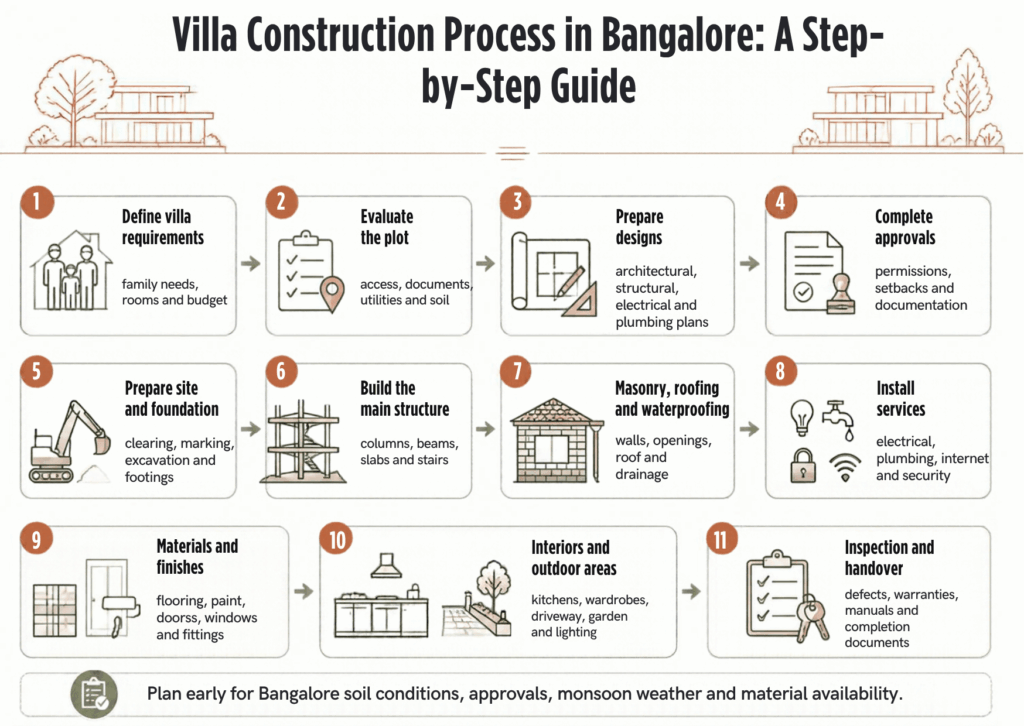
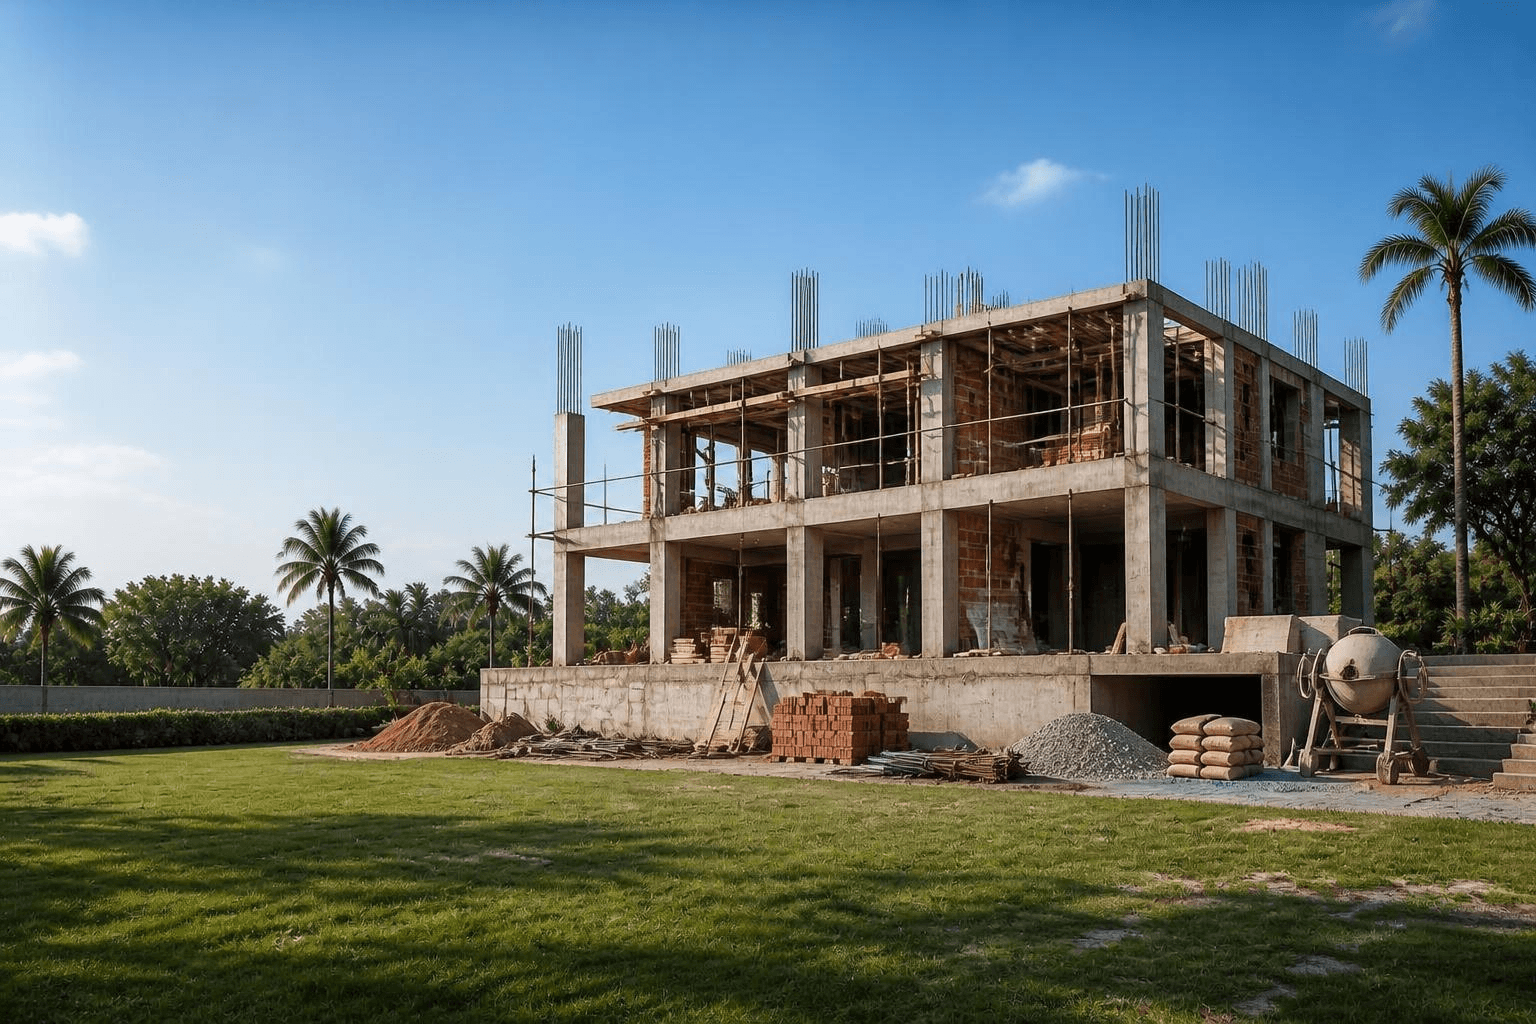
6. Construct the Main Structure
Once the foundation is complete, the main structural framework takes shape. This stage typically includes columns, beams, slabs, staircases and other structural components.
For a storey villa, construction progresses floor by floor. Each stage requires reinforcement, concrete placement, curing and inspection before the next stage proceeds.
The time required depends on the number of floors, structural design, site conditions, labour availability and weather.
Avoid rushing work to meet an arbitrary deadline. Concrete curing and required inspections are parts of the construction process, not optional delays.
As the structure develops, regular site visits and progress updates can help you understand whether the work matches the approved plans.
7. Complete Masonry, Roofing, and Waterproofing
After the structural work, the team begins building walls and defining the internal spaces. Masonry, plastering, roof details and openings for doors and windows help bring the design to life.
Waterproofing also needs attention. Roof terraces, balconies, bathrooms, utility areas and other exposed surfaces can be vulnerable to water seepage if the work is not completed correctly.
The waterproofing method should suit the location and intended use of each area. Where required, testing should be completed before layers or finishes cover the surface.
Drainage around the building is another consideration, particularly during Bangalore’s rainy season. Proper slopes and water outlets help prevent water from collecting near the structure.
Addressing these details early can reduce the risk of repairs after the villa is occupied.
8. Install Electrical, Plumbing, and Other Services
The next stage involves installing services, including electrical wiring, water supply lines, drainage pipes and other systems required by the design.
Electrical points should be planned around furniture placement and daily activities. Consider lighting, appliance connections, air-conditioning, internet access, security systems and future automation requirements.
Plumbing layouts need to support kitchens, bathrooms, utility areas and water storage systems. Pipe routes and service access should be coordinated with the structural plans.
These installations are often completed before walls and ceilings are fully closed. The team should test the systems at the appropriate stages. Test the systems at the appropriate stages.
Photographs of concealed wiring and plumbing can also be useful for maintenance. Once finishes are installed, accessing these services may require work.
9. Select Materials and Complete the Finishes
Finishing work gives the villa its appearance. It may include flooring, wall finishes, painting, doors, windows, bathroom fittings, lighting fixtures and other visible details.
Material selection affects the appearance, maintenance requirements and overall cost of the home. Compare products based on durability, performance, finish and suitability for the space rather than choosing only by appearance.
For example, flooring in areas needs to suit weather exposure while bathroom finishes should be appropriate for wet conditions. Window and door specifications should also support the design’s ventilation, security and maintenance needs.
Finalise important materials wherever possible. Delayed selections or unavailable products can interrupt work. Extend the schedule.
Maintain a written record of the selected brands, specifications, quantities and approved alternatives. This makes it easier to check deliveries and avoid confusion during execution.
10. Complete the Interiors and Outdoor Areas
Interior design helps turn the completed structure into a home. Depending on the project scope, this stage may include kitchens, wardrobes, storage units, furniture, curtains, decorative lighting and other fittings.
These elements should work with the villa’s layout rather than being planned separately. For instance, kitchen storage should match the space while bedroom wardrobes need to allow comfortable movement.
Outdoor work deserves attention. Driveways, compound walls, pathways, gardens, terraces, seating areas and landscape lighting may all form part of the project.
Plan outdoor spaces early, even if some of the work is completed towards the end. Drainage, levels, access and utility connections can affect both the building and the surrounding areas.
The exact scope depends on your design and budget. Confirm which interior and outdoor elements are included in the construction agreement.
11. Inspect the Villa and Complete the Handover
Before moving in, arrange a final inspection with the project team. Walk through each room. Check the quality of finishes, doors, windows, electrical fittings, plumbing fixtures and other installed elements.
Look for work, visible defects, leaks, damaged surfaces or fittings that need adjustment. Prepare a written list of pending items. Agree on how they will be addressed.
Ask for documents, product warranties, equipment manuals, service details and approved drawings where applicable. Confirm that the completion and occupancy documentation has been addressed for your project.
A proper handover helps you understand how to maintain the villa and whom to contact if an issue arises after moving.
Download the Villa Construction Checklist (PDF): a stage-by-stage guide for homeowners, from planning to final handover.
How Long Does Villa Construction Take in Bangalore?
The timeline depends on the built-up area, number of floors, design complexity, approval process, site conditions and finishing requirements.
As an estimate, some villa projects take about 12 to 18 months of active building work. Larger or complicated projects might take more time. Before this time, there may be design and approval work. Outdoor work or paperwork can also make the whole schedule longer.
Weather can also impact digging outside work. Keeping water out. Delays in getting materials or changes to the design that has been approved can add time.
Ask your building team for a schedule that shows each stage, not just focusing on one final date. The schedule should have approvals, key steps in building, choices for materials, work on finishes, checks and handing over the project.
Common Mistakes to Avoid During Villa Construction
Even a good design can have issues if planning and building are not working together. Remember these mistakes:
- Starting without a budget: Make sure to include design, approvals, building, inside work, outside work and some extra money for surprises.
- Not checking the ground: The ground conditions affect how the base is made and can change the cost.
- Changing the design a lot: Last-minute changes can cost more and stop work that has already been done.
- Picking materials late: Waiting to choose and get materials can slow down the finishing work.
- Not thinking about keeping water out and where it goes: Bad planning can cause water to leak and collect.
- Not looking at what the contract includes: Make sure what is included, what is not, the details, when money is paid and who is responsible are written down.
- Focusing on the house: Plan for parking, walls around the house, how to get in and green areas as part of the bigger project.
A clear plan, a time frame and talking often can help avoid many problems.
How to Choose the Right Villa Construction Company
Picking the team is a key part of a good villa project. Look for a villa builder that has the experience, talks clearly and has a good way to plan and build.
Look at projects that are done; if you can visit a villa that is being built, see how the site is managed and the quality of work. Ask how the company deals with choosing materials, checking quality updates on the project, changes and delays.
Compare the prices carefully. A lower price might not include the materials, finishes, services or outside work as another price.
The building contract should clearly say what is covered, the details, when money is paid, the estimated time and what each side is responsible for.
An approach that brings together design, building, inside work and managing the project can also help keep decisions in line throughout the project.
Build Your Villa With a Clear Plan
Building a villa involves choices that are connected from the land and design to the building, the systems, the interior work and the final handover. Planning these steps together helps you manage what you expect and make choices during the project.
Line of Thought brings together design, building, interior work and project management to give an organised building experience.
If you are planning villa construction in Bangalore, book a villa construction consultation to discuss your plot, requirements, and project goals.
Frequently Asked Questions
1. How much does it cost to build a villa in Bangalore?
The cost depends on the built-up area, design complexity, materials, finishes, soil conditions, and scope of work. Basic construction may cost less than a customised villa with premium interiors and extensive landscaping. Land, approvals, furniture, and outdoor features may be additional expenses. Request an itemised estimate based on your plans and specifications.
2. How much land is required for a villa?
The land required depends on your preferred built-up area, number of floors, parking, outdoor spaces, and applicable building rules. A 30 × 40 ft plot provides 1,200 sq ft of land, while a 40 × 60 ft plot provides 2,400 sq ft. However, the permitted building area depends on setbacks, floor area rules, and other local requirements. Confirm feasibility before finalising the plot.
3. How long does villa construction take in Bangalore?
Many villa projects require around 12–18 months of active construction, although larger or more complex projects can take longer. Design, approvals, weather, material availability, and finishing requirements can affect the total schedule.
4. What are the main stages of villa construction?
The main stages include planning and design, approvals, site preparation, foundation, structural construction, masonry, electrical and plumbing installation, finishing, interiors, landscaping, and final handover. The sequence can vary depending on the project.
5. How can I avoid delays during villa construction?
Finalise the design early, obtain the required approvals, select materials in advance, and agree on a realistic construction schedule. Regular site reviews and clear communication with the construction team can help identify issues before they cause major delays.